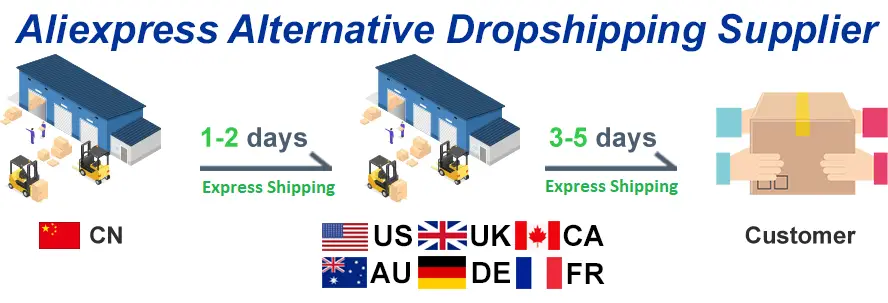
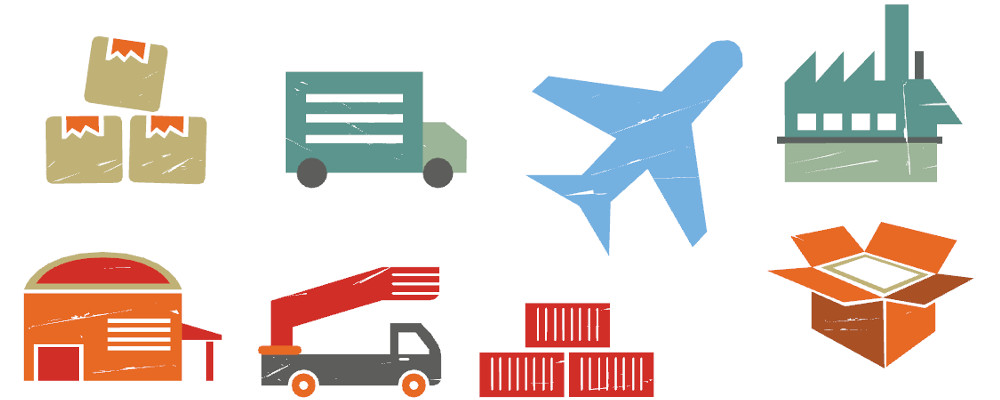
FOREVER FREE Supplier APP with More than 1 Million Products from All Niches. Our Supplier deliver your orders in 7 to 10 days. Countries list given below.
💎 Store Set up:
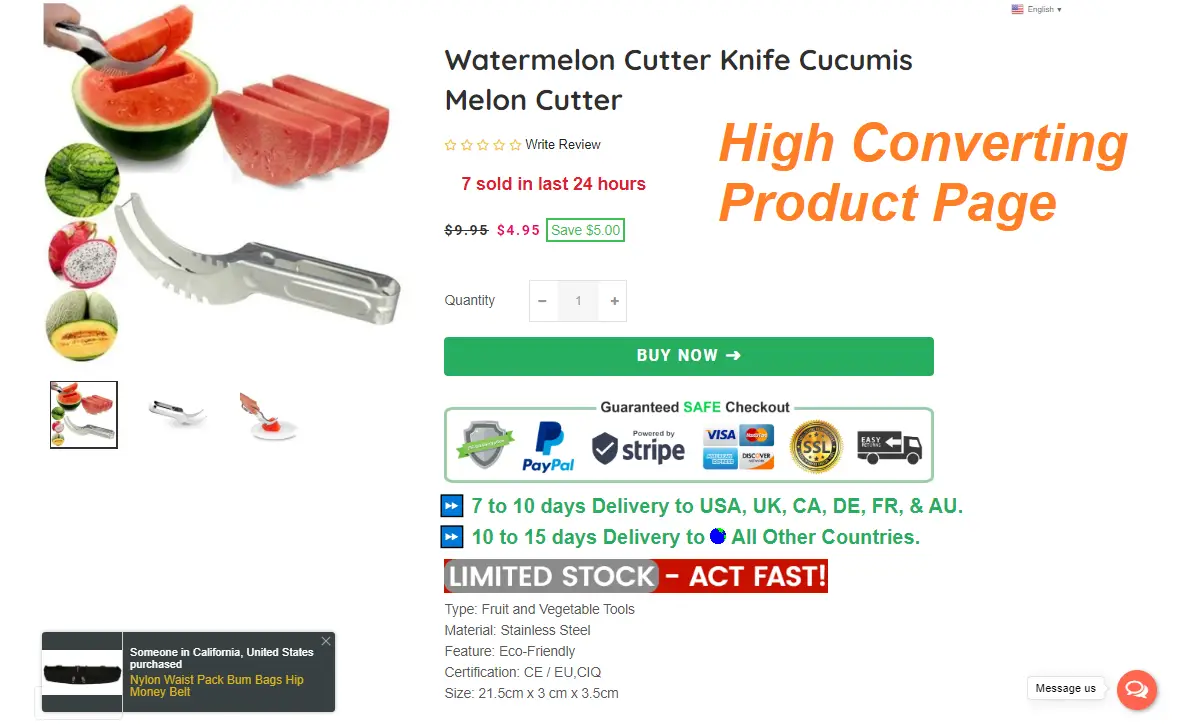
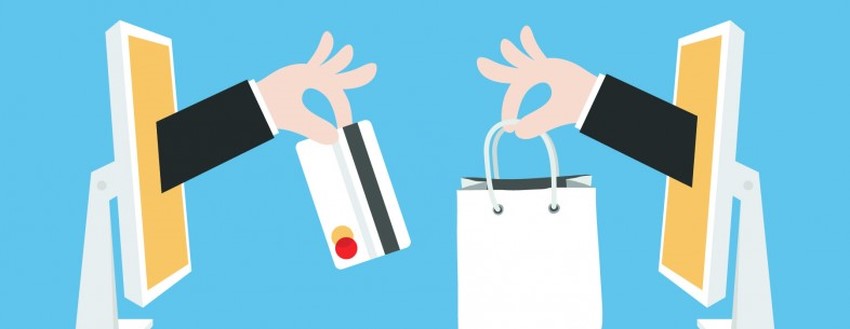
You will get a TurnKey Automated Shopify Dropshipping Store (Niche or General).High converting Theme, Essential APPS, and all Sales Booster Features.
💎 Marketing Documents:
Facebook Ads Audience Targeting Interest List. Free Tools for Facebook Ad Creatives. High Engagement Instagram Influencer List for Shoutout Marketing.
💎 Instructions:
Detailed Instructions and Documentations Included for Store Maintenance, Product Import, Order Processing, Theme Design Settings, etc.
August 2023 Special Discount Offer
The Complete Service Cost Only$20 USD (One Time Fee).
We only accept PayPal Payment. Your Store will be Delivered in 48 Hours. Not Happy with the Store?? 7 Days No Question Asked Refund.
Demo Store: 🔗www.dropshipdemo.com (It is a General Store. We do Niche Stores as well.)
The Ultimate Aim of our Company is, Helping Beginners to Kick-start Dropshipping Journey With a Minimum Budget.
We Also Help Existing Store Owners to Connect with our Supplier.
United States, United Kingdom, Canada, Australia, New Zealand, Sweden, Belgium, Italy, Spain, Switzerland, Netherlands, France & Germany.
Countries with 10 to 15 days Delivery Time:
Austria, Cyprus, Czech Republic, Denmark, Estonia, Finland, Greece, Croatia, Hungary, Indonesia, Ireland, Japan, Lithuania, Luxembourg, Latvia, Mexico, Saudi Arabia, Ukraine, Thailand, Peru, Romania, United Arab Emirates, South Africa, Israel, Malaysia, South Korea, Poland, Portugal, Singapore, Taiwan, Norway, Slovenia, and The Slovak Republic.
Shipping Cost depends on the product weight and customer location. There is no MOQ.
Your Location doesn’t matter here. You may from Anywhere in the World. Still, you can dropship with our supplier.
👗Products & Niches Covered:
The Supplier APP comes with 10 Main Categories, 107 Sub Categories, 1 Million Products, and Updating New Products Everyday.
You will get a store with any one of the niches from the list or a collection of niches as per your request. Please message us if your niche is not available on the list. We will try our best to arrange it for you.
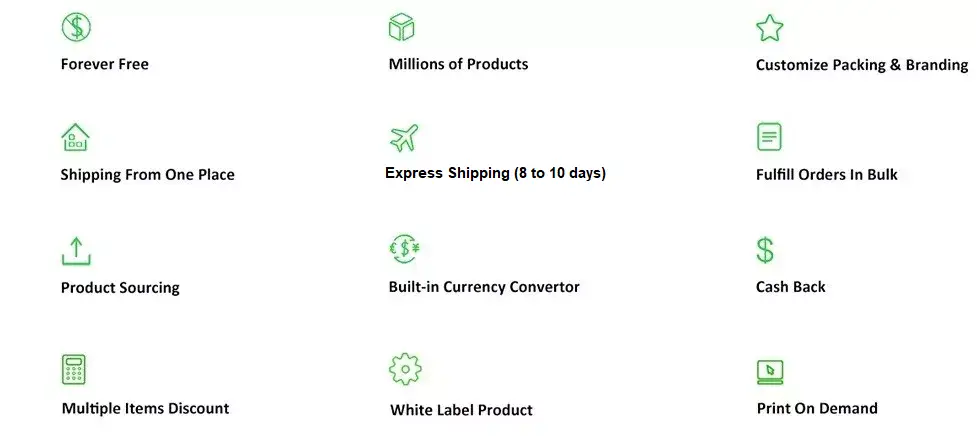
💎 Our Supplier APP has NO Subscription FEE and is Forever FREE to everyone. Customized Invoice, Packing, and Branding.
💎 Easy to find Products and Import to your Store in One Click. Product Prices and Shipping Costs are comparable to Aliexpress.
💎 Trending Products from All Niches. Easy Returns, Refunds & Replacements.
💎 Bulk Order Fulfillment in few clicks and Auto Update Tracking Numbers once the Order is Shipped.
Additional Suppliers: We also share a List of Fast Delivery Suppliers (60++) Similar to our Supplier. Multiple Suppliers can be used in a Shopify Store. So you can use any Suppliers as you want.
🛒Shopify Dropshipping Store Set Up & DEMO
Our Customized FREE Theme (Brooklyn) for Dropshipping Stores, Comes With all the Sales Booster Features to Increase Conversion Rate.
You will get a Complete Ready to go Store. Once the Store Delivered, You Can Start Promoting Right Away.
Simple, Neat, and Elegant Design. We Create Shopify Dropshipping Stores (Niche & General) and Print On Demand Stores as well. Theme Guide and Instructions Included.
EACH AND EVERY PART OF THE STORE IS COMPLETELY CUSTOMIZABLE. YOU CAN ADD/EDIT/DELETE ANY FEATURES & APPS.
Demo Store. (It is a General Store, Niche Stores also will be the same design with different Products and Categories.)
Facebook Ads Audience Targeting for All niches. Kindly Checkout some Samples here Men’s Fashion, Beauty, and Cooking. Similarly, You will get it for all the Categories.
Free Tools to Generate Facebook Ad Creatives (Image & Video Ads) in Few Clicks. Products Research Techniques and Ad Spy Tools.
Shoutout Marketing – List of High Engagement Instagram Influencers for all Niches. Some of the Top Influencers from our List: fshnbattles (Fashion), dogspupsworld (Dog), and strengthofgym (Fitness).
Read the Description --> Place Order --> Chat with us us to Get Started --> Let’s Discuss the Requirements --> Get your Store in 24 hours --> Start Promotion and Make Sales --> Our Supplier Take care of Quality, Shipping, and Delivery.
Feel Free to Talk to us if any Questions before Place Order.
Yes, you can change the store theme if required. It will not affect any existing settings, products, categories. You should only redesign the home page. Other pages will be configured automatically.